Skip to content
All guides
Foundation5 min

Build your first consistent character

Five minutes from upload to a character that holds its face across every render the studio produces.

A character in socialAF is two things: a small set of reference images that anchor what the person looks like, and a short bio that anchors how they show up in the studio’s prompts. Get both of those right and every downstream tool, image, video, voice, lip-sync, will stay on-model.

Every creator on the landing page was built this exact way. No LoRA training, no custom model. Just references plus prompt.

Step 01

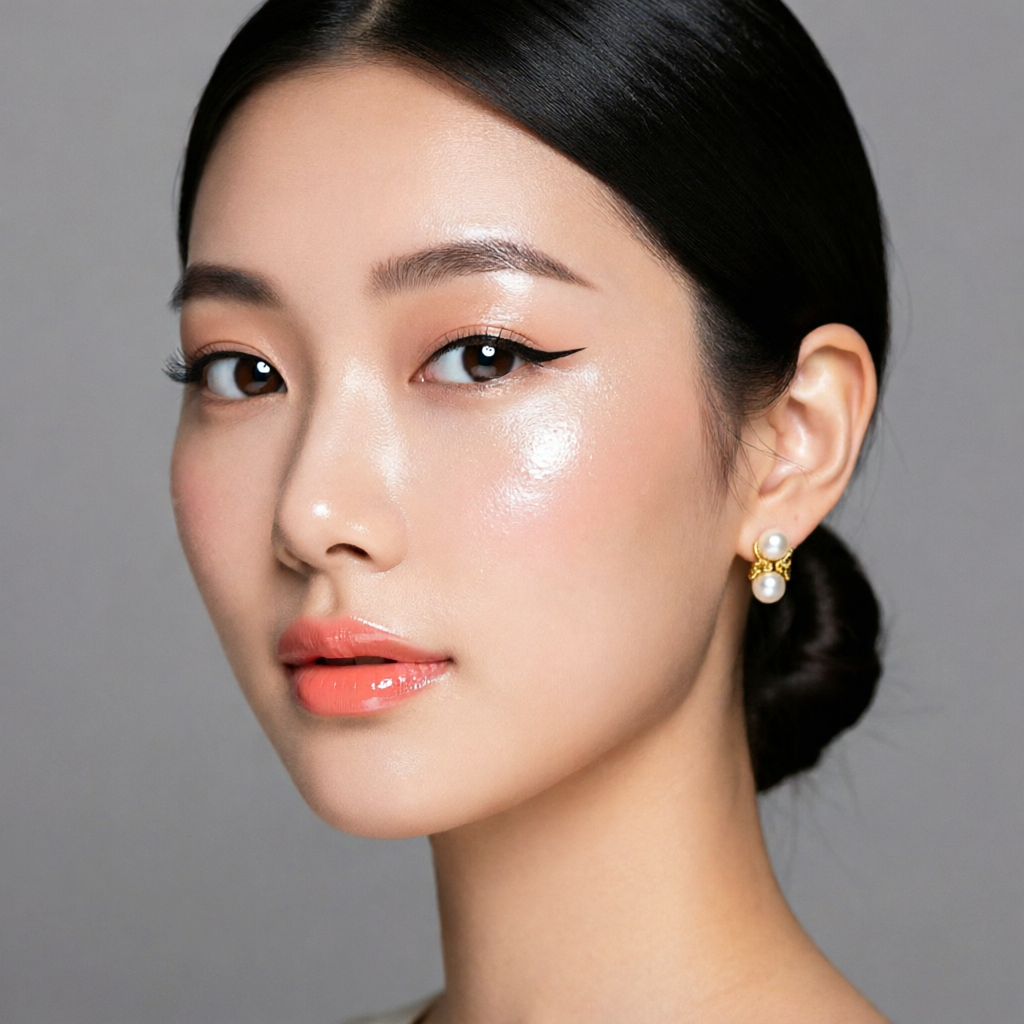
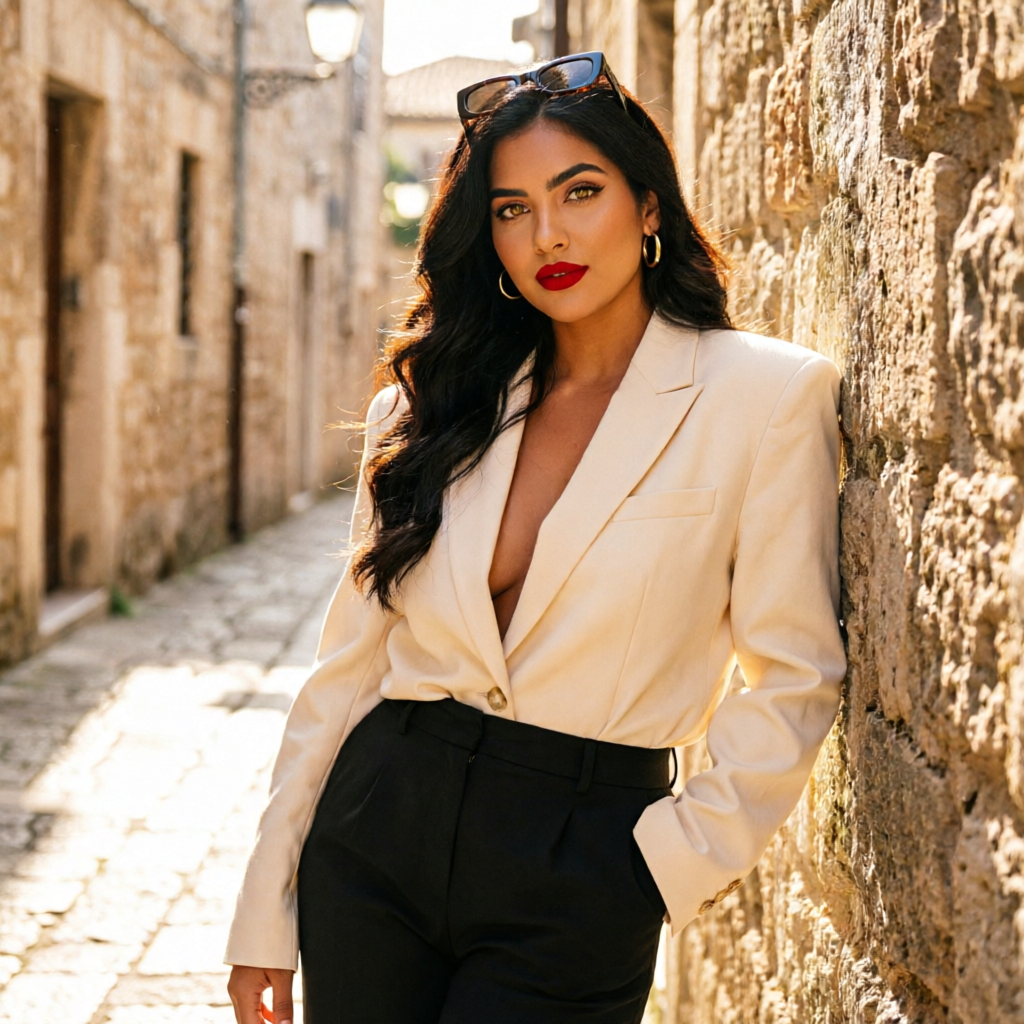
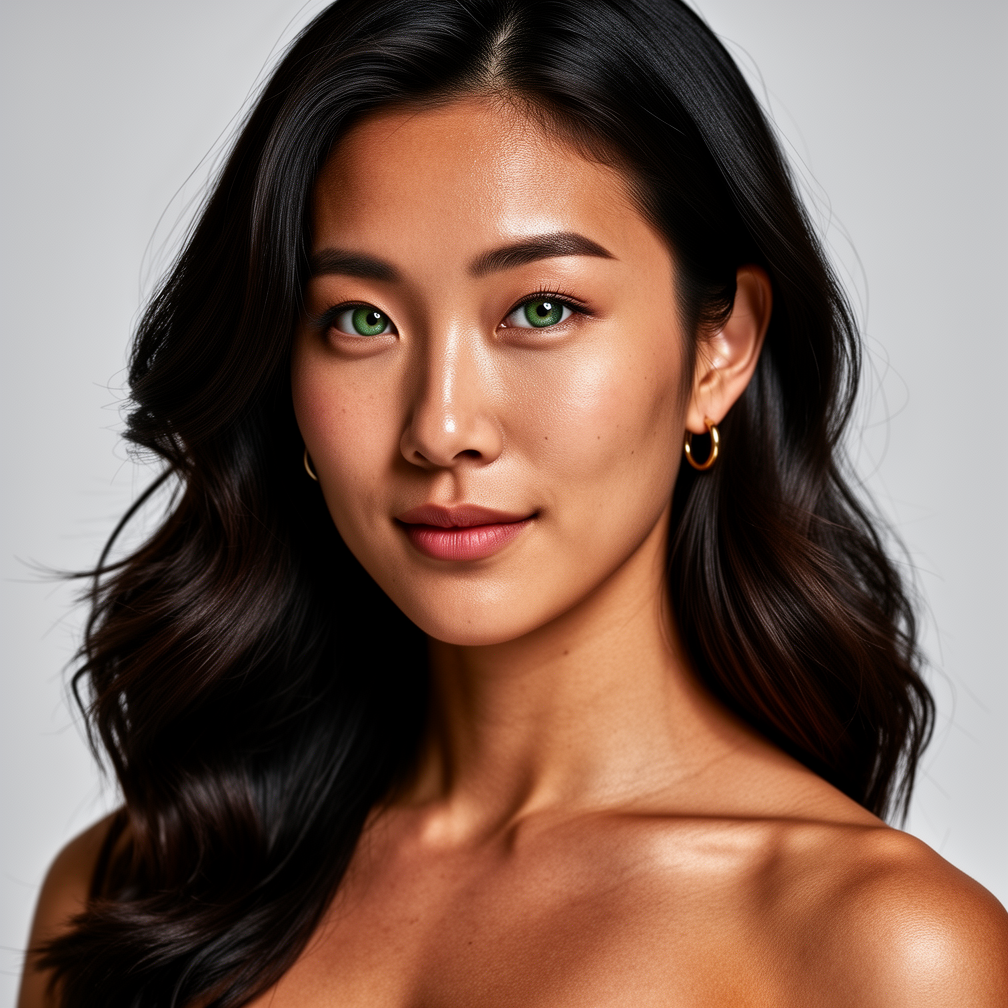
Pick references that show the same person from a few angles

Two to ten images. The studio uses these to lock identity across every later render, so they need to look like the same person. Mix one front-facing portrait, one three-quarter, one full-body if you can get it. Different lighting is fine and helps. Different hairstyles or wildly different ages will confuse the router; keep the look consistent.

Photorealistic references render photorealistic outputs. Stylized references (illustration, anime, painterly) render stylized outputs. Pick the look you want now; the studio will preserve it later.

Nova, anchor portrait
flux-2-pro1:1Nova, anchor portrait

Prompt

A half-Korean woman in her late 20s, dark wavy hair past shoulders, green eyes, defined athletic build, warm bronze skin, small gold hoop earrings, no makeup or barely-there. Photorealistic, natural skin texture, studio key light, neutral background.

Step 02

Open Characters → New character

In the dashboard sidebar, head to Characters and click New character. You’ll get a form that asks for a name, a short bio (we call it “lore”), an optional default voice preset, and a place to drop your reference images.

Names are display-only. Slugs are auto-generated from the name and stay unique inside your org.

Step 03

Write a tight bio

The bio runs through the studio every time the model needs to imagine your character in a new scene. The shorter and more specific it is, the better the renders.

Mia’s bio: “Korean American makeup artist in her mid 20s. Editorial-first beauty content. Glass skin, dewy makeup, restrained gold jewelry. Soft glam, never loud.”

Notice what’s in there: niche, age band, look, palette, tone. Notice what’s not: full life history, relationship status, list of hobbies. Bios are anchors, not biographies.

Beauty studio close-up
qwen-image-2.0-pro1:1Beauty studio close-up

Prompt

the same woman, extreme close-up beauty shot, soft pink-coral lip gloss, glass skin, dewy cheek highlight, ring light reflection in eyes, editorial Vogue Beauty quality, 100mm macro

Step 04

Tag what they make

Tags are optional but they help the studio reach for the right defaults later. A character tagged fitness gets gym-friendly composition cues; one tagged editorial gets cleaner light and tighter framing.

Three to five tags is plenty. Don’t list a thesaurus.

Step 05

Attest age + hit save

Every character has to be age-attested before it can generate. You confirm the depicted person is 18+; the system records the attestation and refuses to render if you skip this. The check runs once per character, not per generation, so it doesn’t get in your way.

After save, the character lands on /characters and immediately becomes available in every generate flow. Reference images run a moderation pass in the background; clean refs are usable within a minute.

Tailored shoot, alley
qwen-image-2.0-pro9:16Tailored shoot, alley

Prompt

the same woman in an oversized cream blazer and black trousers in a sunlit narrow stone alley, leaning against a wall, sunglasses pushed up, photoreal high-fashion street editorial, 50mm

Once the character is saved, you have a face the studio can paint into any scene you describe. The next guide covers how to actually render those scenes so the face holds across every model in the catalog.

Now go build.

The whole pipeline is in your dashboard. Start with a character, ship every format from there.